
Roof Leak Repair: What to Do First and What It Costs
A wet ceiling stain doesn't mean the leak is directly above it. Water follows the path of least resistance along rafters and sheathing before it drips through drywall, sometimes many feet from the actual hole. Before you call anyone, you need to stop active damage, find the real entry point, and figure out whether this is a $15 tube of caulk or a full flashing replacement. Work through these checks in order. Most roof leaks trace back to one of five causes, and most homeowners can safely rule out at least half of them without climbing on a wet roof.
Quick diagnosis
| Cause | What to check | Can I fix it myself? |
|---|---|---|
| Cracked, curled, or missing shingles | Look uphill from the stain for shingles that are lifted, cracked, or gone entirely | Yes — replacing a few shingles on a low, walkable roof is a reasonable DIY job |
| Failed flashing (chimney, skylight, vent pipe) | Check caulk beads and metal seams around any roof penetration for gaps, rust, or lifted edges | Sometimes — resealing small gaps is DIY; full flashing replacement is not |
| Clogged gutters or an ice dam | Check gutters for standing water and debris; in winter, look for a thick ice ridge along the eaves | Yes for gutter cleaning; ice dam removal is usually safer left to a pro |
| Cracked rubber pipe boot | Inspect the rubber collar around plumbing vent pipes for splits or brittleness | Yes — boot replacement is a moderate, well-documented DIY task |
| Nail pops or failed underlayment | In the attic, look for shiny protruding nail tips or damp, discolored insulation with no obvious pipe or flashing nearby | No — this means opening the roof deck, which is a professional job |
What to do, in order
1. Find the actual source first — water rarely travels straight down from the stain
Grab a flashlight and get into the attic during dry weather. Water runs along the underside of the roof deck and down rafters before it soaks through drywall, so the ceiling stain is almost never directly under the entry point.
Action: Trace any dark trails, damp wood, or wet insulation uphill until you find where the water is actually entering. Check around every penetration — chimney, vent pipes, skylights — along the way.
Expected result: A visible wet trail or staining that leads to one specific spot, usually near a flashing seam or damaged shingle.
DIY/pro: Safe to do yourself with a flashlight and stable attic flooring. If the attic is inaccessible or you can't find a clear trail in 30 minutes, a roofer with a moisture meter will find it faster.
2. Stop the damage now: buckets, a tarp, and moving belongings out of the way
Before you diagnose anything, contain the water. A few minutes now can save you from a much bigger water damage restoration job later.
Action: Place a bucket under any active drip, poke a small controlled hole at the lowest point of a ceiling bulge to relieve pressure (this prevents a larger collapse), and move furniture, electronics, and boxes away from the area. If it's safe to access the roof from a ladder, cover the suspected area with a tarp weighted at the edges.
Expected result: Water is contained, and nothing porous is sitting in standing water.
DIY/pro: Fully DIY. Skip the roof tarp if the roof is steep, wet, or icy — that's a fall risk, not a savings.
3. Damaged, cracked, or missing shingles letting water through
Shingles are your roof's primary water barrier. Wind, hail, and age crack or lift them, opening a direct path underneath.
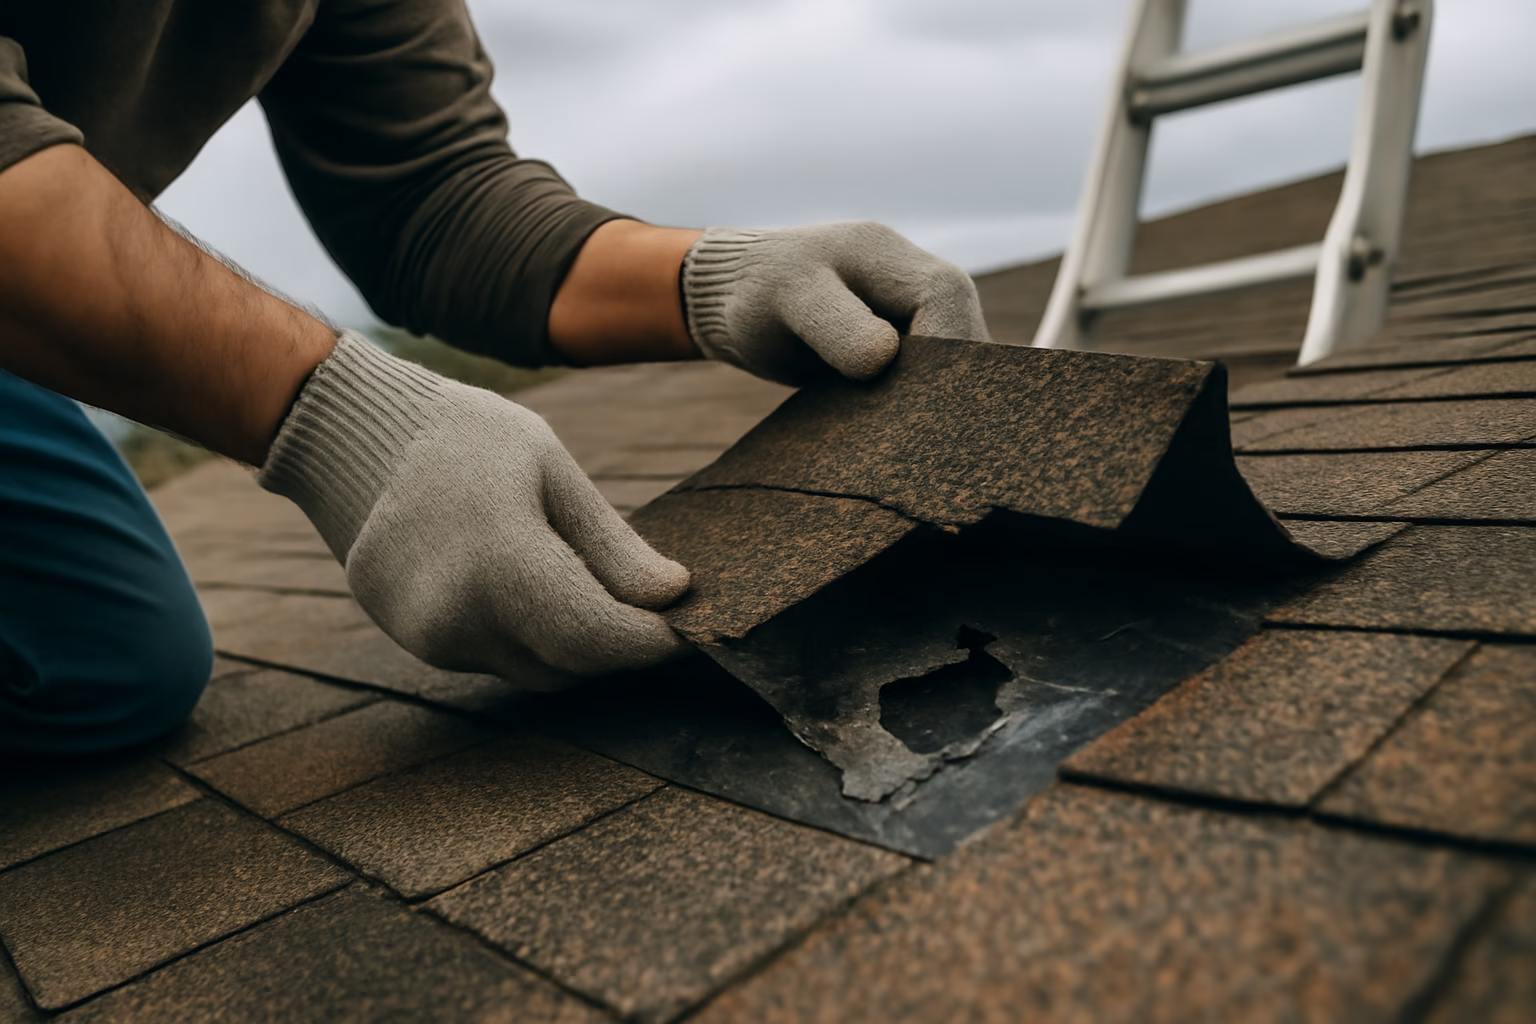
Action: From the ground, scan with binoculars for shingles that are curled, cracked, missing entirely, or showing bare granule-free patches. If you can safely access the roof, press gently on suspect shingles — they should be flat and firmly seated.
Expected result: A visible gap, crack, or missing shingle roughly in line with the attic entry point you traced in step 1.
DIY/pro: Replacing a handful of shingles on a low-slope, walkable roof is doable with basic tools and a caulk gun. Anything above one story, steep pitch, or more than a few damaged shingles — call local roofing contractors instead.
4. Failed flashing around chimneys, skylights, and vent pipes — the most common culprit
Flashing is the thin metal that seals joints where the roof meets a chimney, skylight, or pipe. It fails more often than shingles do, because it relies on caulk and sealant that dries out and cracks over time.
Action: Inspect every roof penetration for lifted metal edges, rust, or caulk that's cracked, shrunk, or missing. Run a hose over the suspect area for 10-15 minutes while someone watches the attic for new drips.
Expected result: Water appears at the attic entry point within minutes of wetting a specific flashing joint, confirming the source.
DIY/pro: Resealing a small gap with roofing sealant is a reasonable weekend fix. Replacing bent, rusted, or missing flashing means removing shingles around it — that's a job for a roofer, and it's the repair most likely to need one. See the roof repair cost guide for typical flashing repair pricing.
5. Clogged gutters or ice dams backing water up under the roofline
Water doesn't need a hole in the roof to get in — it just needs somewhere to pool. Clogged gutters and winter ice dams both force water backward, up and under the shingle edge.
Action: Check gutters and downspouts for standing water, leaves, or granule buildup. In cold climates, look for a thick ridge of ice along the eaves with icicles hanging below it — that's an ice dam trapping meltwater against the roof.
Expected result: Visibly clogged or overflowing gutters, or a clear ice ridge at the roof edge.
DIY/pro: Cleaning gutters from a ladder is a standard DIY task twice a year. Chipping at an ice dam yourself risks damaging shingles; a calcium chloride sock or a pro with a steam machine is safer. Energy.gov has guidance on preventing ice dams through attic insulation and ventilation.
6. Ceiling stain with no active dripping — is the leak still active?
A dry, brownish ring doesn't mean the problem is solved. It might mean the leak only shows up during heavy rain, or that water is still trapped inside the ceiling assembly.
Action: Press a gloved finger into the stained drywall. Soft, spongy, or cool-to-the-touch material means moisture is still present. Check the attic above it for damp insulation even on a dry day.
Expected result: Firm, dry drywall and dry attic insulation mean the leak may be intermittent (worth monitoring after the next rain). Soft or damp material means active, ongoing moisture.
DIY/pro: You can monitor and mark the stain's edge with pencil to track growth yourself. Trapped moisture behind drywall for more than 48 hours creates real mold risk — if the area smells musty or stays damp, check the mold remediation cost guide and consider a moisture-meter inspection.
7. When a roof leak is an emergency: active indoor flooding, sagging ceiling, or exposed wiring
Most roof leaks are urgent but not emergencies. A few situations are exceptions and need immediate action, not scheduling.
Action: If the ceiling is visibly bulging or sagging, water is pouring rather than dripping, or water is anywhere near an electrical fixture or outlet, cut power to that circuit at the breaker panel first, then get everyone out of the room.
Expected result: Power is off, the room is clear, and you're calling an emergency roofer or restoration company — not waiting for a scheduled estimate.
DIY/pro: Not a DIY situation. A sagging ceiling can collapse without warning, and water near live wiring is a shock and fire hazard.
8. DIY roof leak repair — what's genuinely safe to attempt yourself, and when to call a pro
Not every roof leak needs a contractor, but the line isn't about skill level as much as it is about roof access and scope.
Action: DIY is reasonable for: resealing small flashing gaps, replacing a handful of accessible shingles, clearing gutters, and swapping a cracked pipe boot. Call a pro for: steep or multi-story roofs, any flashing removal, widespread shingle damage, or a leak you can't locate after a genuine attic inspection.
Expected result: A repair that actually stops the leak, instead of a patch that hides it for one season and reappears at the next storm.
DIY/pro: When in doubt, get one written estimate before buying materials — full details and typical price ranges by repair type are in the roof repair cost guide.
How much does roof leak repair actually cost?
Simple flashing resealing runs roughly $150-$450. Shingle replacement over a small area is often $300-$1,000. Full flashing replacement, decking repair, or ice-dam-related damage climbs higher depending on access and roof pitch.
Frequently asked questions
Why is my ceiling leaking when it's not raining?
Check for melting ice dams, condensation from a poorly vented bathroom fan, or an HVAC condensate line running near that spot in the attic — none of these need active rain to leak.
Can I use roofing tar or sealant as a permanent fix?
No. Roofing sealant and tar are short-term patches that shrink and crack within a season or two. They buy time until you can do a proper shingle or flashing repair.
How long can I wait before repairing a roof leak?
Don't wait past the next rain if you can help it. Even a slow leak left for a few weeks can rot decking, damage insulation, and create mold — all of which cost far more than the original repair.
Will homeowners insurance cover roof leak repair?
Usually only if the cause was sudden — a storm or fallen tree limb, for example. Gradual wear, old age, and neglected maintenance are typically excluded, so check your policy's specific language before filing a claim.
Does a small roof leak always mean I need a new roof?
No. Most leaks are localized failures — a shingle, a flashing seam, a pipe boot — that can be repaired without replacing the whole roof. A full replacement is usually about age and widespread wear, not one leak.