
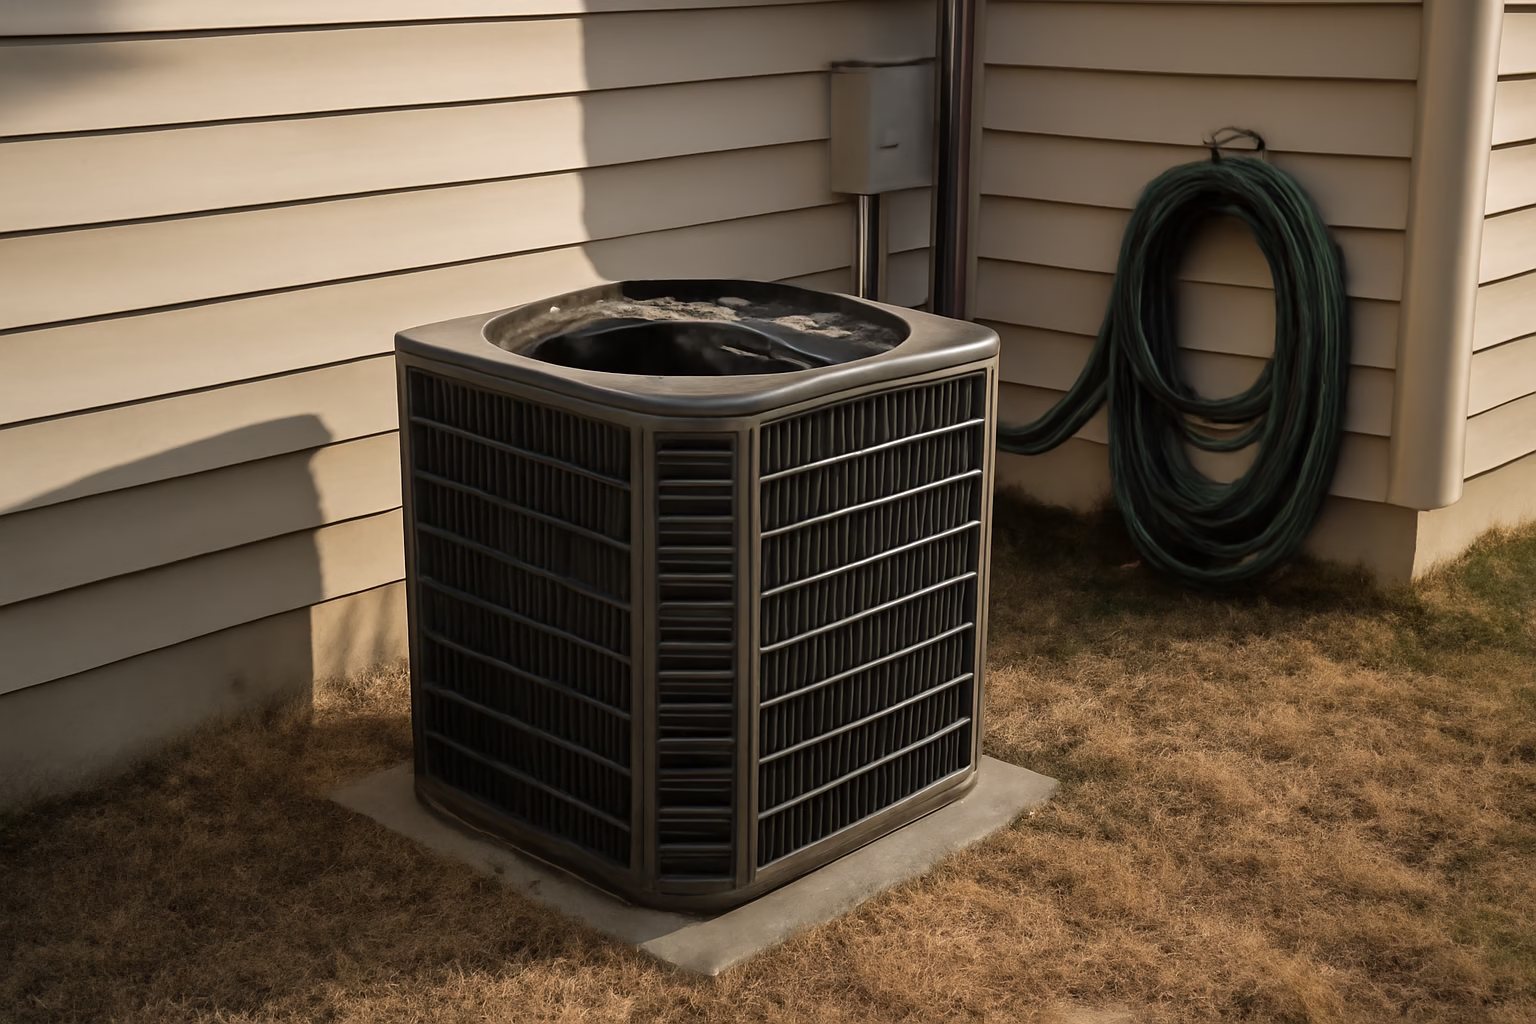
Outside AC Unit Not Running? Here's What to Check First
When the outdoor condenser sits silent on a hot day, the problem is usually electrical, not refrigerant. A tripped breaker, a failed capacitor, or a tripped safety switch can all stop the outdoor unit while the indoor blower keeps running like nothing's wrong. Work through the checks below in order — most take less than five minutes and need only a flashlight or a multimeter. If you smell burning, see sparks, or hear a hissing gas sound, stop immediately and call a licensed HVAC technician. Otherwise, start with the simplest, cheapest possibilities first — power, thermostat signal, and the disconnect switch — before assuming you're facing a costly compressor or capacitor repair.
Quick diagnosis
| Cause | What to check | Can I fix it myself? |
|---|---|---|
| Tripped breaker or blown fuse | Breaker panel and outdoor disconnect box | Yes — reset once; if it trips again, call a pro |
| Failed run/start capacitor | Unit hums but the fan doesn't spin; bulging capacitor top | No — stores lethal voltage even when off |
| Clogged condensate drain (float switch tripped) | Standing water in the drain pan or overflow at the drain line | Yes — clearing the clog is DIY-safe |
| Thermostat not sending a call signal | Thermostat mode, batteries, and wiring | Yes — usually a quick fix |
| Seized or failed condenser fan motor | Fan blade won't turn freely by hand; grinding noise | No — replacement needs licensed labor |
What to check, in order
1. Tripped breaker or blown fuse for the outdoor unit
Action: Go to your main electrical panel and find the breaker labeled AC, condenser, or A/C disconnect. Flip it fully off, wait 10 seconds, then back on.
Expected result: The outdoor unit should hum to life within 30 seconds. If the breaker trips again immediately, that's a sign of a short or failing compressor — stop resetting it.
DIY or pro: Resetting a breaker once is safe DIY territory. If the unit tripped right after a storm, check our guide on AC won't turn on after a storm for storm-specific causes like surge damage.
2. Thermostat not sending a call signal to the outdoor unit
Action: Set the thermostat to Cool and drop the set temperature 5°F below the current room temperature. Listen for an indoor blower start and an outdoor contactor click within about a minute.
Expected result: You should hear a soft click at the outdoor unit as the contactor closes. No click usually means dead batteries, a wiring fault, or a thermostat that isn't calling for cooling at all.
DIY or pro: Swapping batteries or a basic thermostat is DIY-friendly. If the indoor unit runs but never gets cold, see AC not blowing cold air for the next steps.
3. Outdoor disconnect switch or shutoff accidentally off
Action: Find the gray metal disconnect box mounted on the wall near the condenser. Open it and check whether the pull-out block or switch is fully seated in the ON position.
Expected result: A properly seated disconnect restores power immediately, and the unit should start on the next thermostat call.
DIY or pro: This is a straightforward DIY check. Always shut off the breaker before touching anything inside the disconnect box, since fuses can carry live current.
4. Failed capacitor — the most common reason a unit hums but won't start
Action: Stand near the unit while it tries to start. A loud hum with no fan movement is the classic capacitor symptom. Visually, a failed capacitor often looks swollen, bulging, or leaking oily residue on top.
Expected result: A healthy capacitor is flat-topped and dry. Any bulge or leak confirms failure.
DIY or pro: Do not test or replace this yourself — capacitors store dangerous voltage even with the power off. A licensed tech typically swaps one for ~$150–$450; see the full HVAC repair cost guide for regional ranges.
5. Condenser fan motor seized or failed
Action: With power fully off at the breaker, try turning the fan blade by hand through the top grille.
Expected result: A healthy motor lets the blade spin freely with light resistance. Grinding, resistance, or a blade that won't move at all points to a seized bearing or burned-out motor.
DIY or pro: Leave this one to a licensed technician — motor replacement involves electrical disconnects and sometimes refrigerant line work. Expect roughly $300–$600 depending on motor size and brand.
6. Safety switch triggered by a clogged condensate drain line
Action: Check the float switch on the condensate drain pan (usually near the indoor air handler or attic unit) and follow the drain line to its outside termination point.
Expected result: Standing water in the pan or no drainage outside means the line is clogged, which trips the float switch and shuts down the outdoor unit as a safety measure — even though nothing is wrong with the compressor itself.
DIY or pro: Clearing the clog with a wet/dry vac or a vinegar flush is DIY-safe. If the system runs after clearing it but still isn't cooling well, see AC running but not cooling.
7. Compressor short-cycling or tripping its own overload protector
Action: Watch a full cycle — does the unit start, run for a minute or two, then shut off and repeat every few minutes?
Expected result: Healthy systems run steadily for 15+ minutes per cycle. Rapid on-off cycling usually means the compressor is overheating internally, refrigerant is low, or electrical components are failing under load.
DIY or pro: This needs a licensed technician with refrigerant gauges and electrical test equipment. Short-cycling left unaddressed often ends in a compressor replacement, so get it diagnosed early — check the HVAC repair cost guide for what that typically runs.
8. Aging system nearing end of life
Action: Check the data plate on the outdoor unit for its manufacture date, and tally how many repair calls you've had in the past two years.
Expected result: Systems over 12–15 years old, especially ones still using R-22 refrigerant, become increasingly prone to electrical and mechanical failures like the ones above. The Department of Energy notes cooling equipment efficiency and reliability both decline well before the 20-year mark.
DIY or pro: Get a licensed contractor's opinion before paying for another major repair — if a single fix costs more than roughly half of a new unit's price, replacement is usually the smarter move.